
Amazon DynamoDB
This page covers how to use an Amazon DynamoDB table as a data source in Rockset. You will learn the following:
- How to create an Amazon DynamoDB Integration to securely connect tables in your AWS account with Rockset.
- How to create a Collection which syncs your data from an Amazon DynamoDB table into Rockset in real-time.
- Understand how the DynamoDB integration works.
For the following steps, you must have access to an AWS account and be able to manage AWS IAM policies and IAM users within it.
If you do not have access, please invite your AWS administrator to Rockset.
Create a DynamoDB Integration
The steps below explain how to set up an Amazon DynamoDB integration using AWS Cross-Account IAM Roles and AWS Access Keys (deprecated). An integration can provide access to one or more DynamoDB tables within your AWS account. You can use an integration to create collections that continuously sync data from your DynamoDB tables.
Follow the steps below to set up an Amazon DynamoDB integration:
- Configure AWS IAM Policy
- Configure Role / Access Key
Step 1: Configure AWS IAM Policy
-
Navigate to the IAM Service in the AWS Management Console.
-
Set up a new policy by navigating to Policies and clicking "Create policy".
If you already have a policy set up for Rockset, you may update that existing policy.
For more details, refer to AWS Documentation on IAM Policies.

- Set up access to your DynamoDB table. You can switch to the
JSONtab and paste the policy shown below. This JSON enables you to configure all permissions rather than configuring them one by one. If you already have a Rockset policy set up, you can add the body of theStatementattribute to it.

You must replace <YOUR-DYNAMODB-TABLE-NAME> with the name of your DynamoDB table. You must also replace <YOUR-BUCKET-NAME> with the name of your S3 bucket.
{
  "Version": "2012-10-17",
  "Statement": [
    {
      "Effect": "Allow",
      "Action": [
        "dynamodb:Scan",
        "dynamodb:DescribeStream",
        "dynamodb:DescribeExport",
        "dynamodb:GetRecords",
        "dynamodb:GetShardIterator",
        "dynamodb:DescribeTable",
        "dynamodb:DescribeContinuousBackups",
        "dynamodb:ExportTableToPointInTime",
        "dynamodb:UpdateTable",
        "dynamodb:UpdateContinuousBackups",
        "s3:PutObject",
        "s3:GetObject",
        "s3:ListBucket"
      ],
      "Resource": [
        "arn:aws:dynamodb:*:*:table/<YOUR-DYNAMODB-TABLE-NAME>",
        "arn:aws:dynamodb:*:*:table/<YOUR-DYNAMODB-TABLE-NAME>/stream/*",
        "arn:aws:dynamodb:*:*:table/<your-table>/export/*",
        "arn:aws:s3:::<Your-Bucket-Name>",
        "arn:aws:s3:::<Your-Bucket-Name>/*"
      ]
    }
  ]
}
- Save the newly created (or updated) policy and give it a descriptive name. You will attach this policy to a user or role in the next step.
The following explains why these permissions are necessary:
dynamodb:Scan: Required for initial table scans when reading data using scan method, and to provide a preview of your data during collection creation.dynamodb:DescribeStream: Required for retrieving metadata about DynamoDB streams.dynamodb:GetRecords: Required for retrieving records from DynamoDB streams.dynamodb:GetShardIterator: Required for retrieving records from DynamoDB streams.dynamodb:DescribeTable: Required for metadata about DynamoDB tables.dynamodb:UpdateTable: Optional. Enables streams on a DynamoDB table. DynamoDB streams are required for live sync to work correctly. You can omit this permission if you would like to enable streams on your tables manually, as described here. You have to specify theStreamViewTypeasNEW_AND_OLD_IMAGESorNEW_IMAGEwhile creating the stream.dynamodb:DescribeContinuousBackups: Required for checking the status of the data export.dynamodb:DescribeExport: Required for exporting your data to the S3 bucket.dynamodb:UpdateContinuousBackups: Required for enabling export on your DynamoDB table.dynamodb:ExportTableToPointInTime: Required for initiating the export of your DynamoDB table.s3:ListBucket: Required to read the Amazon S3 bucket and object metadata, where your table is exported to.s3:GetObject: Required to retrieve objects from the designated Amazon S3 bucket.s3:PutObject: Required to export DynamoDB documents to your Amazon S3 bucket.
Configuration Tip
We recommend using an empty S3 bucket for this integration. This enables you to easily find and delete any table exports you are not interested in keeping, to avoid paying additional S3 storage costs.
Advanced Permissions
You can set up permissions for multiple tables (or even all tables) by modifying the Resource ARNs. The format of the ARN for DynamoDB is as follows: arn:aws:dynamodb:region:account-id:table/tablename.
You can substitute the following resources in the policy above, to grant access to multiple tables as shown below:
- All tables in your account:
arn:aws:dynamodb:*:*:table/*arn:aws:dynamodb:*:*:table/*/stream/*
- All tables starting with prod:
arn:aws:dynamodb:*:*:table/prod*arn:aws:dynamodb:*:*:table/prod*/stream/*
- All tables in us-west-2:
arn:aws:dynamodb:us-west-2:*:table/*arn:aws:dynamodb:us-west-2:*:table/*/stream/*
You must also include the corresponding
/stream/*permissions with the above for live sync to work correctly.
You can also set up permissions for multiple buckets or specific paths by modifying the Resource ARNs. The format of the ARN for S3 is as follows: arn:aws:s3:::bucket_name/key_name.
You can substitute the following resources in the policy above, to grant access to multiple buckets or prefixes as shown below:
- All paths under
mybucket/salesdata:arn:aws:s3:::mybucketarn:aws:s3:::mybucket/salesdata/*
- All buckets starting with sales:
arn:aws:s3:::sales*arn:aws:s3:::sales*/*
- All buckets in your account:
arn:aws:s3:::*arn:aws:s3:::*/*
For more details on how to specify a resource path, refer to AWS documentation on S3 ARNs.
Step 2: Configure Role / Access Key
There are two mechanisms you can use to grant Rockset permissions to your AWS resource:
- Cross-Account roles (strongly recommended as they are more secure
and easier to manage) - Access Keys (deprecated)
AWS Cross-Account IAM Role
The most secure way to grant Rockset access to your AWS account, is to add cross-account access in Rockset. To do so, you'll need to create an IAM Role that assumes your newly created policy on Rockset's behalf.
You'll need information from the Rockset Console to create and save this integration.
Follow the steps below to set up this role:
-
Navigate to the IAM service in the AWS Management Console.
-
Set up a new role by navigating to Roles and clicking "Create role".
If you already have a role for Rockset set up, you may re-use it and either add or update the above policy directly.

- Select "Another AWS account" as a trusted entity type, and and tick the box for "Require External ID". Fill in the Account ID and External ID fields with the values (Rockset Account ID and External ID respectively) found on the Integration page of the Rockset Console (under the Cross-Account Role Option). Click to continue.

- Choose the policy created for this role in Step 1 (or follow Step 1 now to create the policy if needed). Then, click to continue.

- Optionally add any tags and click "Next". Name the role descriptively, e.g. 'rockset-role', and once finished record the Role ARN for the Rockset integration in the Rockset Console.
AWS Access Key (deprecated)
Follow the steps below to set up an access key:
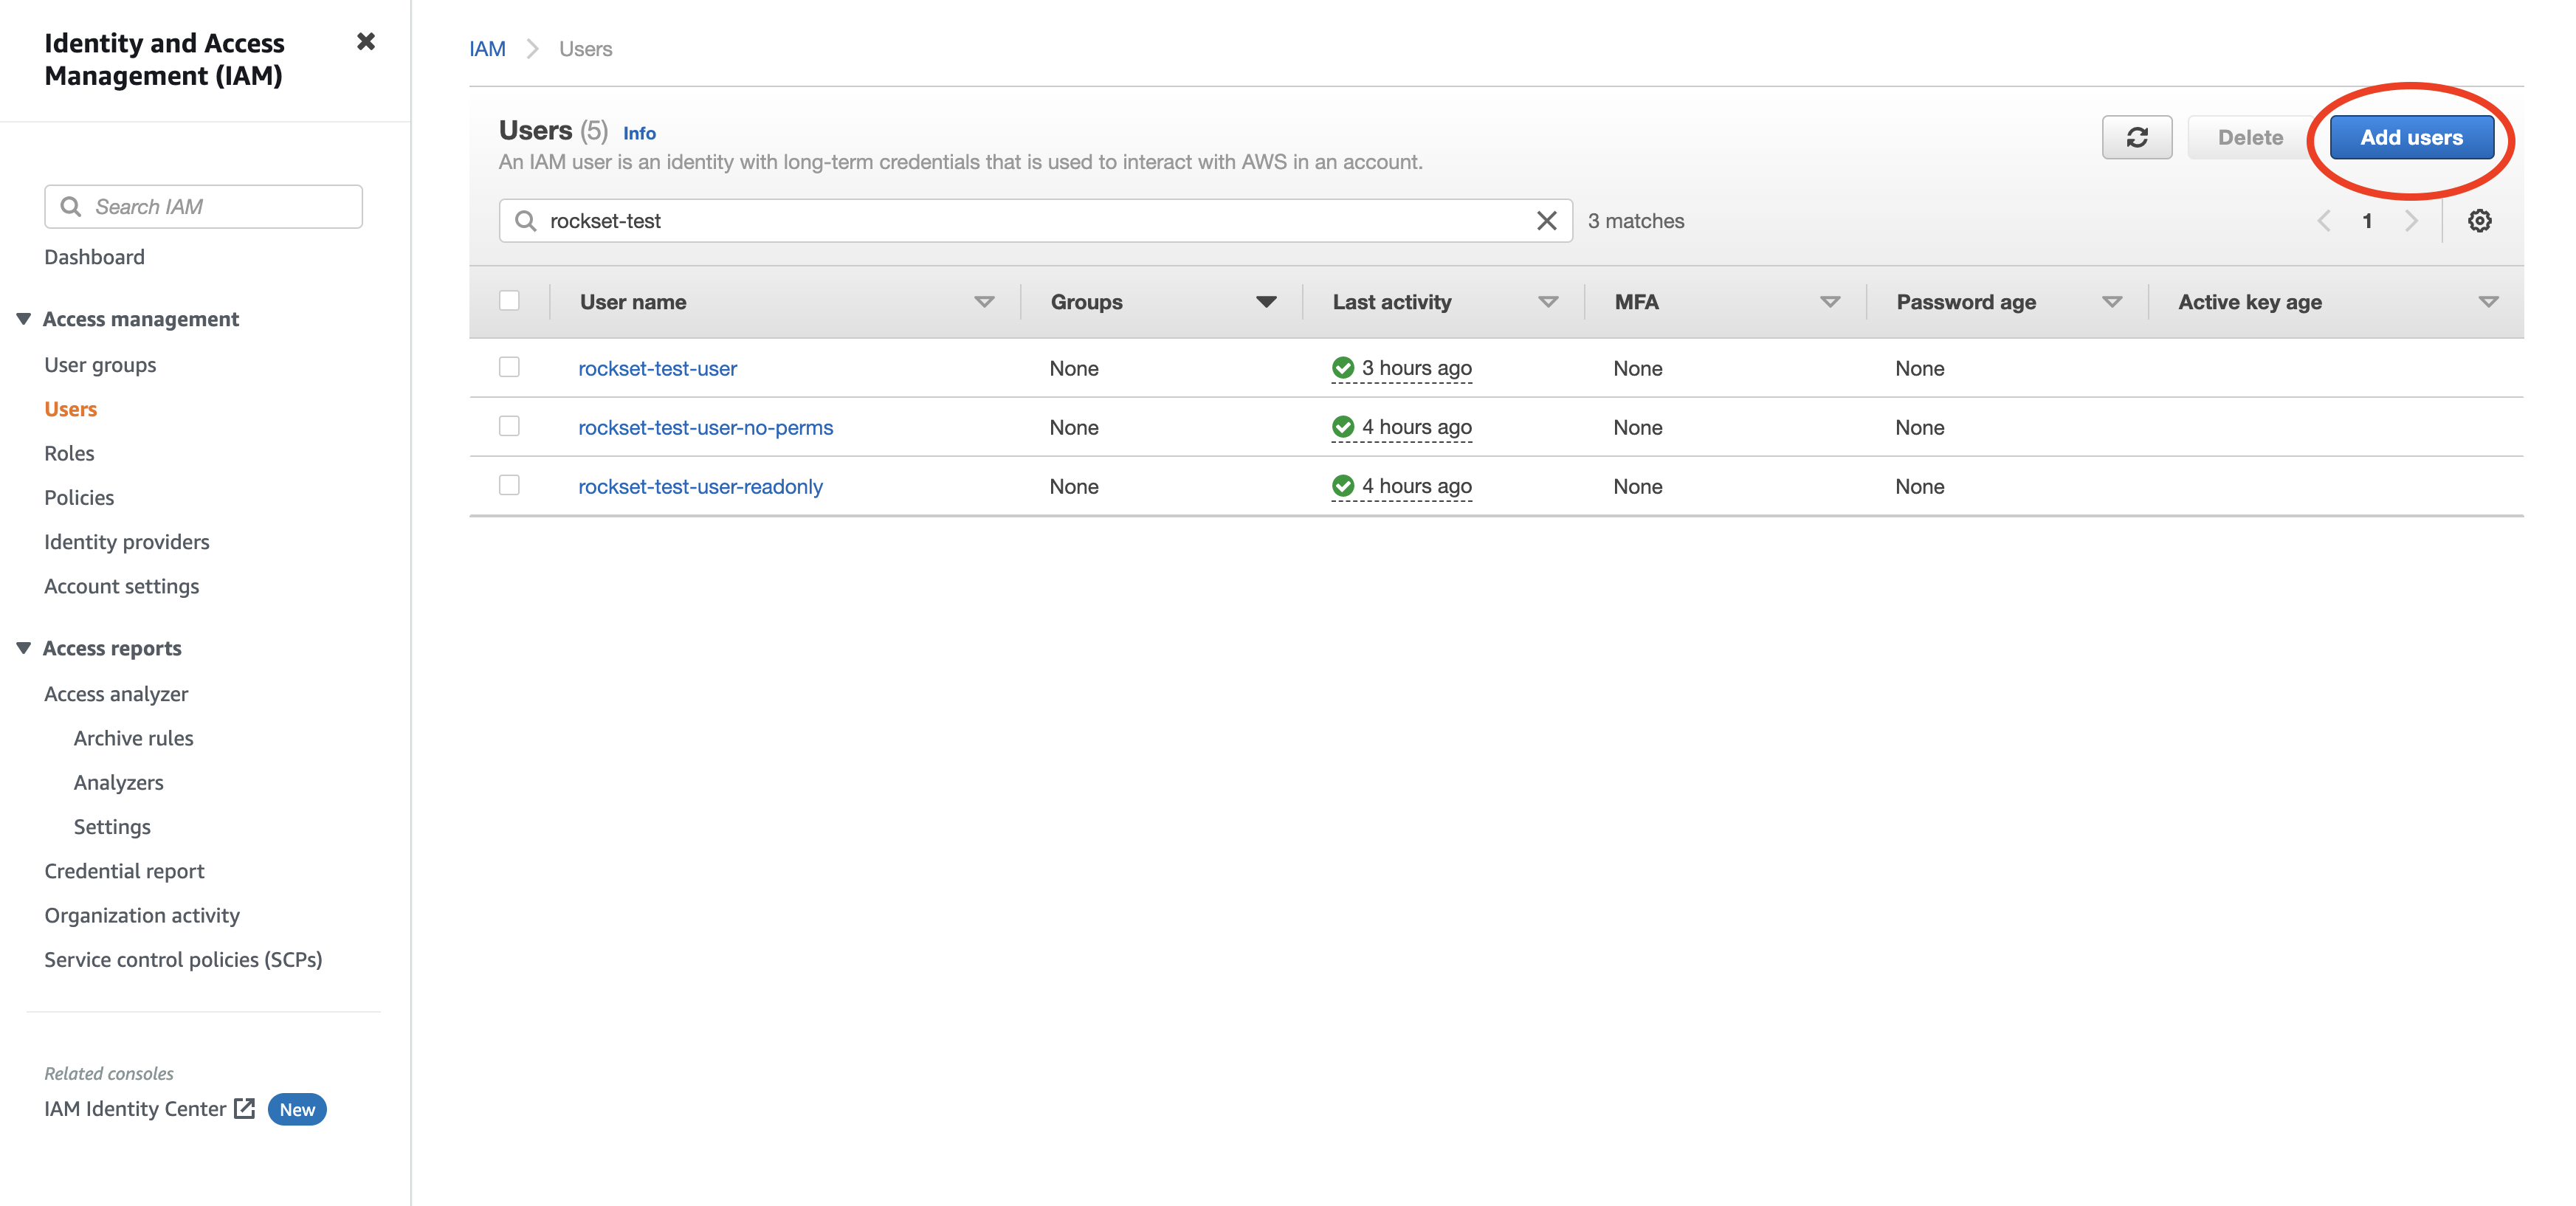
Navigate to the IAM service in the AWS Management Console.
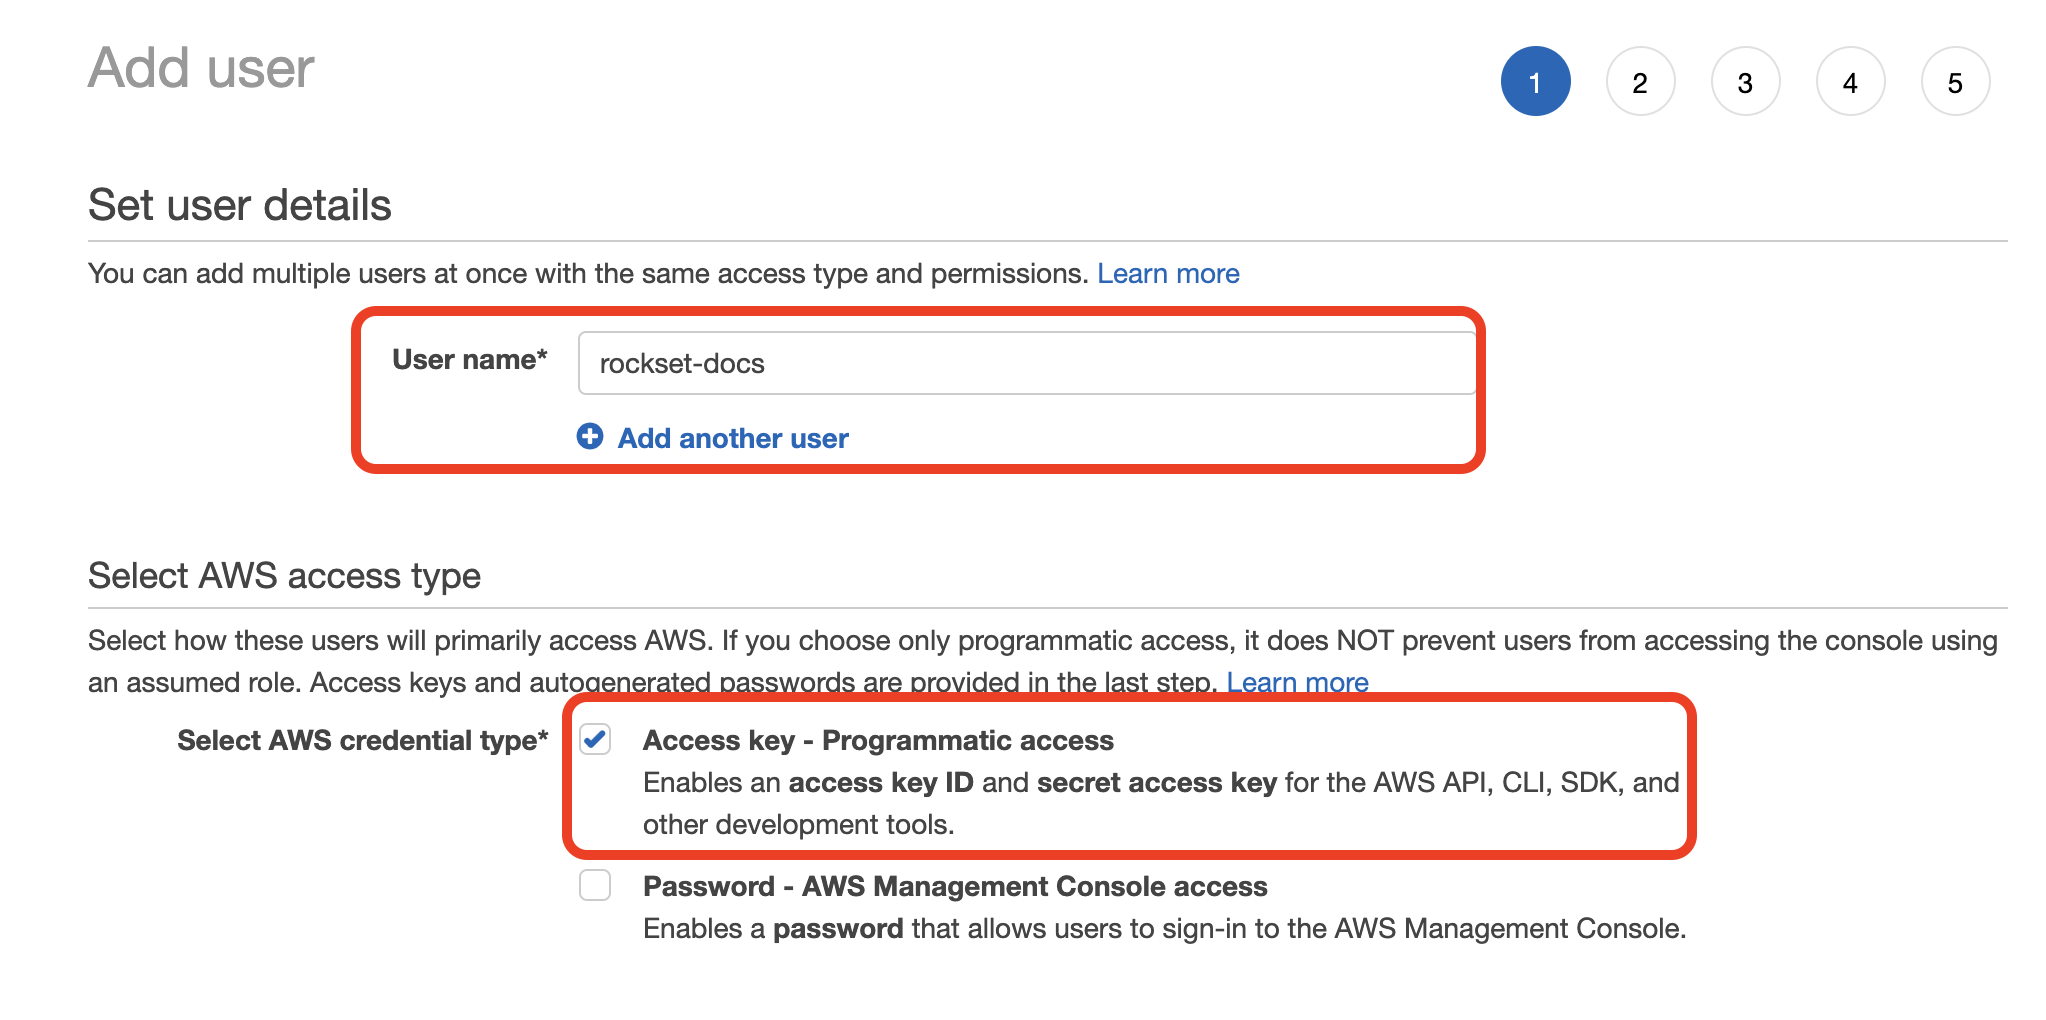
- Create a new user by navigating to Users and clicking "Add User".
- Enter a name for the user and check the "Programmatic access" option. Click to continue.
- Choose "Attach existing policies directly" and select the policy you created in Step 1. Click through the remaining steps to finish creating the user.

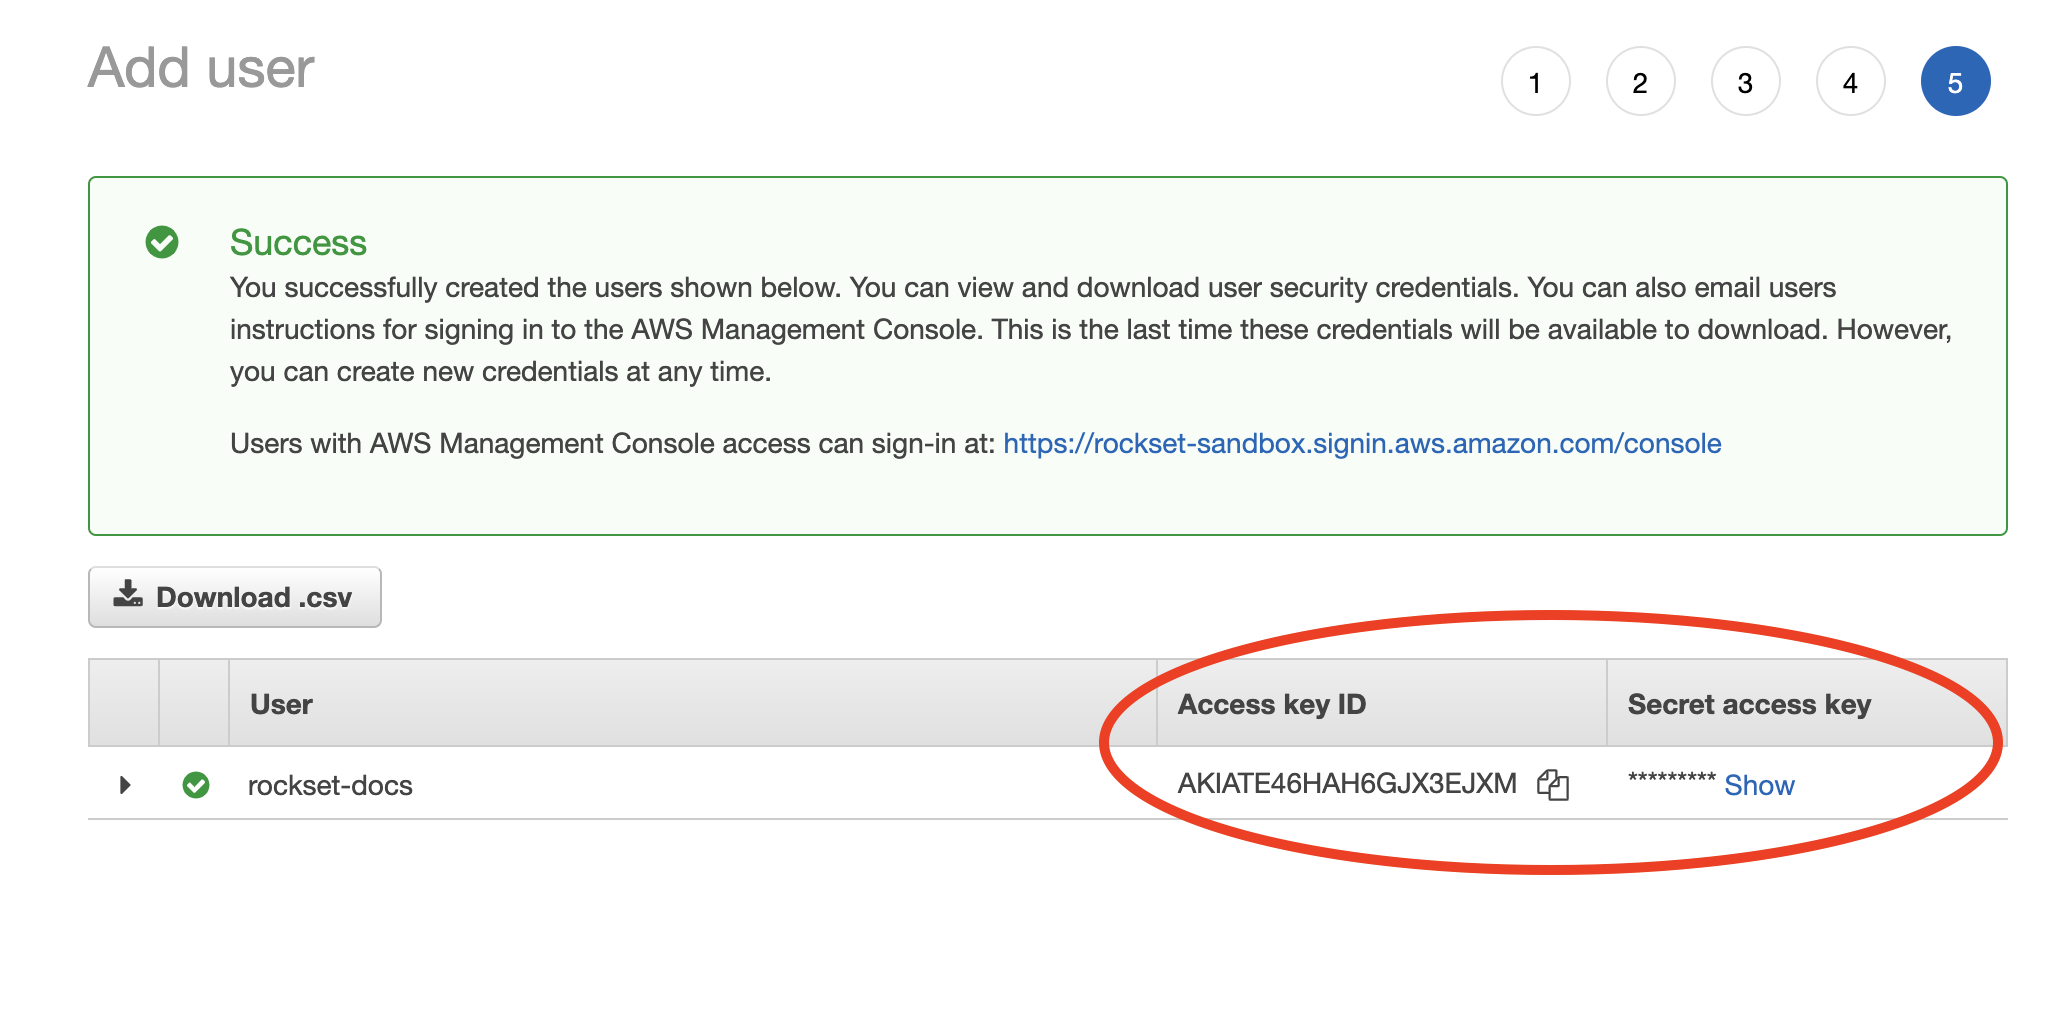
- When the new user is successfully created, you should see the Access key ID and Secret access key displayed on the screen.
If you are attaching the policy to an existing IAM user, navigate to Security Credentials under the IAM user and generate a new access key.
- Record both of these values in the Rockset Console within a new DynamoDB integration.
Create a Collection
Once you create a collection backed by Amazon DynamoDB and the initial load is finished, Rockset scans the DynamoDB tables to continuously ingest data changes (inserts, updates, and deletes). It subsequently uses the stream to update collections with new objects, which are added to the DynamoDB table. The sync latency is no more than five seconds under a regular load.
For DynamoDB updates, Rockset applies a REPSERT which replaces the entire document — including
_event_time.
You can create a collection from a DynamoDB source in the Collections tab of the Rockset Console.

Fill the form sections with the table information and any SQL Ingest Transformations that should be applied to the ingest.
The Rockset and DynamoDB integration requires that
_idis not specified.Rockset will calculate a unique
_idfrom existing identifiers in DynamoDB and use that to update records accordingly.
If your DynamoDB table has _id specified, you can map it to a new field (i.e. dynamodbId) using the following ingest transformation:
SELECT _id as dynamodbId, * EXCEPT (_id) FROM _input
Source Configurations
Rockset allows updating the following configurations for Amazon DynamoDB:
| Configuration Name | Default Value | Min Value | Max Value | Description |
|---|---|---|---|---|
| dynamodb_stream_poll_frequency | PT1S | PT0.25S | PT5M | Each DynamoDB stream can have one to many shards, and Rockset polls each DynamoDB shard at a fixed rate. Decreasing the duration between polls helps reduce ingest latency, while increasing the duration can prevent Rockset from keeping up with the updates. If the latency exceeds 24 hours (DynamoDB stream retention duration), Rockset will not be able to process all of the streaming updates. Each request also has a fixed price associated with it. Duration value is of type ISO 8601 (e.g. PT5H, PT4M, PT3S). It doesn't account for DST, leap seconds and leap years. |
Best Practices
Amazon DynamoDB allows up to 2 simultaneous readers per shard in DynamoDB streams. We recommend no more than one collection reads from a DynamoDB stream. If multiple collections read from the same DynamoDB stream, they will encounter rate limits imposed by DynamoDB, which results in throttling. When encountering throttling, Rockset retries with backoff, which can increase data ingestion latencies.
Read more about the limits here.
How Does The DynamoDB Integration Work
Rockset uses two modes to import data:
- Bulk Ingest: To Perform Bulk Ingest for DynamoDB, Rockset will leverage either:
- DynamoDB export capability to an S3 bucket to export your table data to a selected S3 bucket.
- DynamoDB Scan operation to directly ingest the table.
- Streaming Ingest
Export Using S3
If you choose to have DynamoDB export to an S3 bucket, Rockset will start to copy the data from the designated S3 bucket and index it, once the export is finished. There is an export set-up time of about seven minutes, regardless of table size.
The export capability for Bulk Ingest is a new, preferred method because it:
- Removes the limitation on the table size that can be ingested to Rockset, due to DynamoDB’s 24-hour limit for the scan method.
- Prevents the initial data import phase from hitting any bottlenecks or impacting your production workload.
- Can significantly accelerate the overall ingest time.
Read more about the benefits of the new export method here.
After a DynamoDB backed collection is set up, it will be a replica of the DynamoDB table.
Cost Management Tip
In order to avoid additional charges by AWS, you can delete the S3 export once you receive the notification that the initial ingest is done and, optionally, disable the Point In Time Recovery functionality.
Table Scan
This method is only recommended for small tables ({'<'}5 GB) where the above S3 export set-up time will exceed the time it takes to scan the DynamoDB table into a Rockset collection.
A one-time full scan of the DynamoDB table will be performed, in which all items are indexed and stored in a Rockset collection. This method uses your DynamoDB Read Capacity Units (RCUs).
Read Capacity Units (RCUs)
Each DynamoDB table is configured with RCUs, which represent an upper bound on the read requests a client can issue. Rockset consumes RCUs to perform strongly-consistent scans during the initial table full scan. Strongly-consistent scans guarantee that no updates to the table are missed between the beginning of the scan and the start of ingestion of the DynamoDB stream.
You can manually configure the RCUs allocated for ingest, when you create a new collection using your DynamoDB integration:

RCUs can be configured in DynamoDB to enable application reads at a faster rate. Likewise, you can specify an upper bound on RCUs in Rockset, to use during the initial scan. If you configure a high number of RCUs for Rockset in your DynamoDB table, it will result in faster ingest speeds.
RCUs in DynamoDB can be configured with two different table modes:
- Provisioned RCU mode: We recommend not allocating more than 50% of RCUs to Rockset, as production workloads may get affected during the initial scan.
- On-Demand RCU mode: We recommend allocating enough RCUs based on the data size and how fast you want it to be ingested in Rockset.
Allocating more than the RCUs configured on DynamoDB table will result in throttled read requests.
Streaming Ingest
When the initial ingest phase is complete, Rockset will switch to the Streaming Ingest mode, regardless of the method you choose for initial table loads. Rockset will continuously monitor and sync changes from the DynamoDB table (inserts, deletes, and updates) to the Rockset collection in real-time, using DynamoDB streams. If you used the Export Using S3 method, you can safely delete the S3 bucket contents, as they are not used during streaming ingest. You will receive a notification email when the initial table load using the S3 method is complete, after which, you can delete the contents of the S3 bucket.
If using a provisioning tool to manage your DynamoDB table(s), be careful to not allow it to disable your DynamoDB streams.
For Terraform, we recommend updating terraform to have stream enabled:
stream_enabled = true
stream_view_type = "NEW_AND_OLD_IMAGES"
Rockset supports
NEW_AND_OLD_IMAGESorNEW_IMAGEstream view type only.
Or having Terraform ignore this attribute by adding the following to your AWS DynamoDB table resource:
lifecycle {
  ignore_changes = [stream_enabled, stream_view_type]
}
stream_enabled = true
stream_view_type = "NEW_AND_OLD_IMAGES"
Or having Terraform ignore this attribute by adding the following to your AWS DynamoDB table resource:
lifecycle {
  ignore_changes = [stream_enabled, stream_view_type]
}
Updated 1 day ago